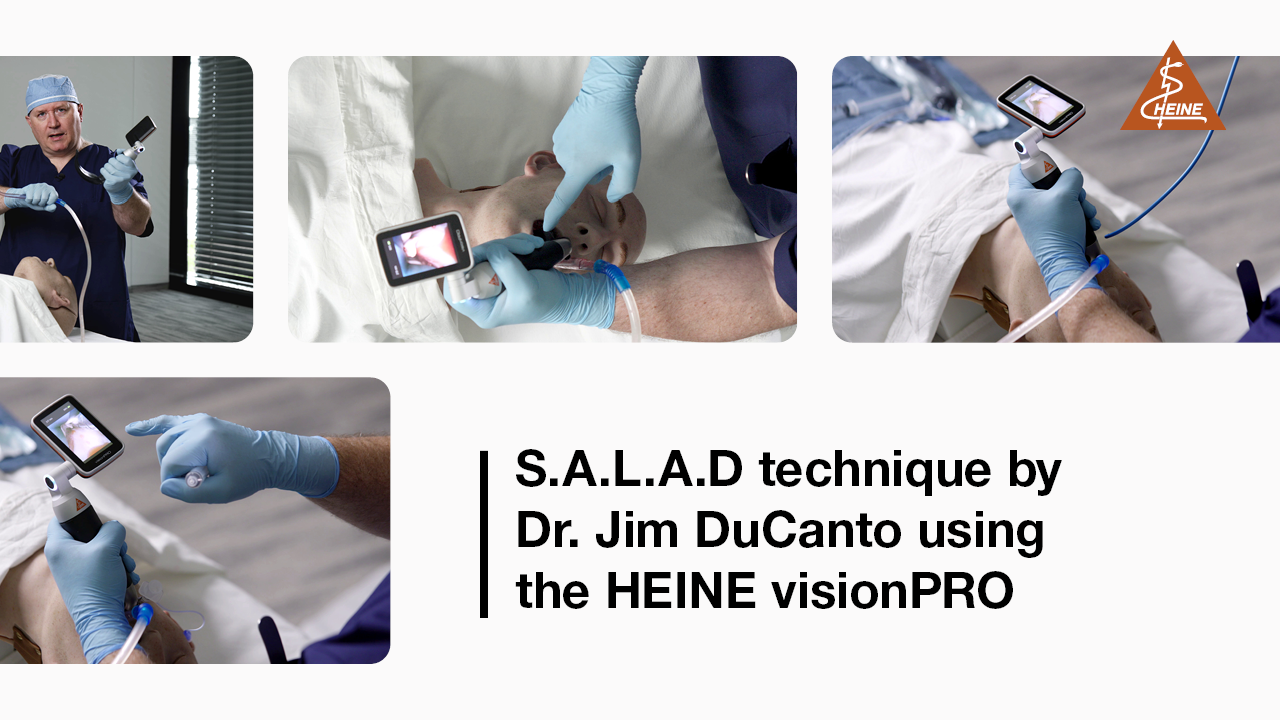
S.A.L.A.D. intubation technique by Dr Jim DuCanto
Intubation with the video laryngoscope in case of contaminated airways
Bleeding or fluid in the pharynx cavity makes it difficult to secure the airways properly, because in these cases it is not possible to gain a clear view of the larynx to insert the endotracheal tube.
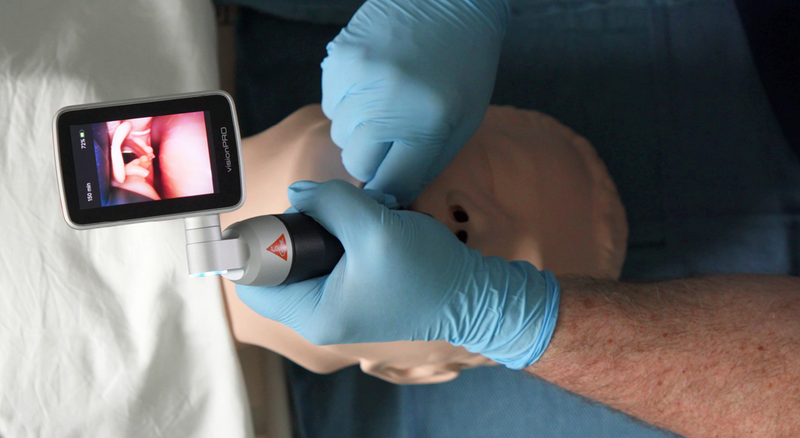
During endotracheal intubation with the S.A.L.A.D. technique, the intubating surgeon inserts the tube, at the same time as suctioning the fluid and making the larynx visible and accessible with the video laryngoscope.
The abbreviation S.A.L.A.D. stands for ‘Suction-Assisted Laryngoscopy with Airway Decontamination’. (Laryngoscopy with simultaneous suction for airway decontamination.)
Dr Jim DuCanto, an anesthesiologist and airway management trainer, explains the procedure he developed one step at a time in this video.
Suctioning – Inserting the laryngoscope and endotracheal tube – Securing the airways
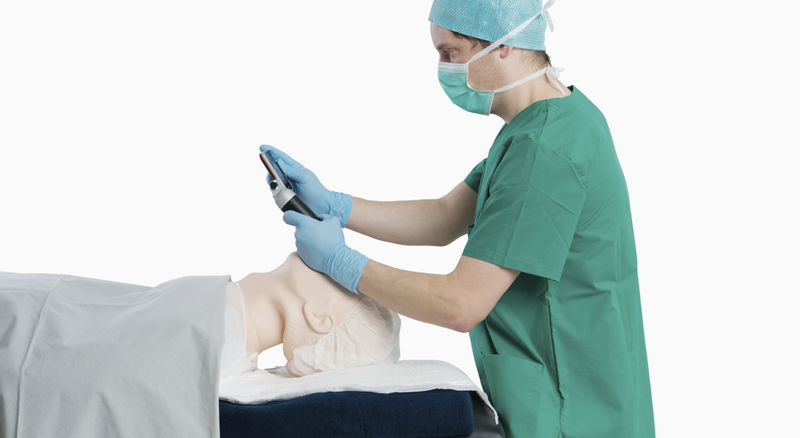
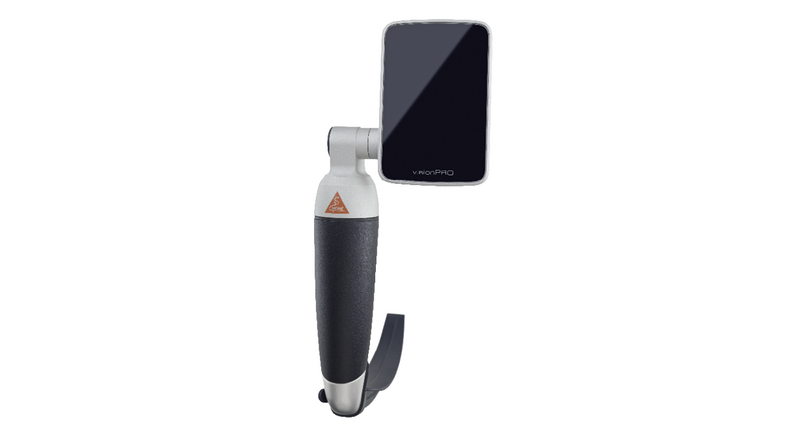
For demonstration purposes, a specifically prepared training dummy is used to simulate gastrointestinal haemorrhage with blockage of the airways. Dr DuCanto uses the HEINE visionPRO video laryngoscope for intubation.
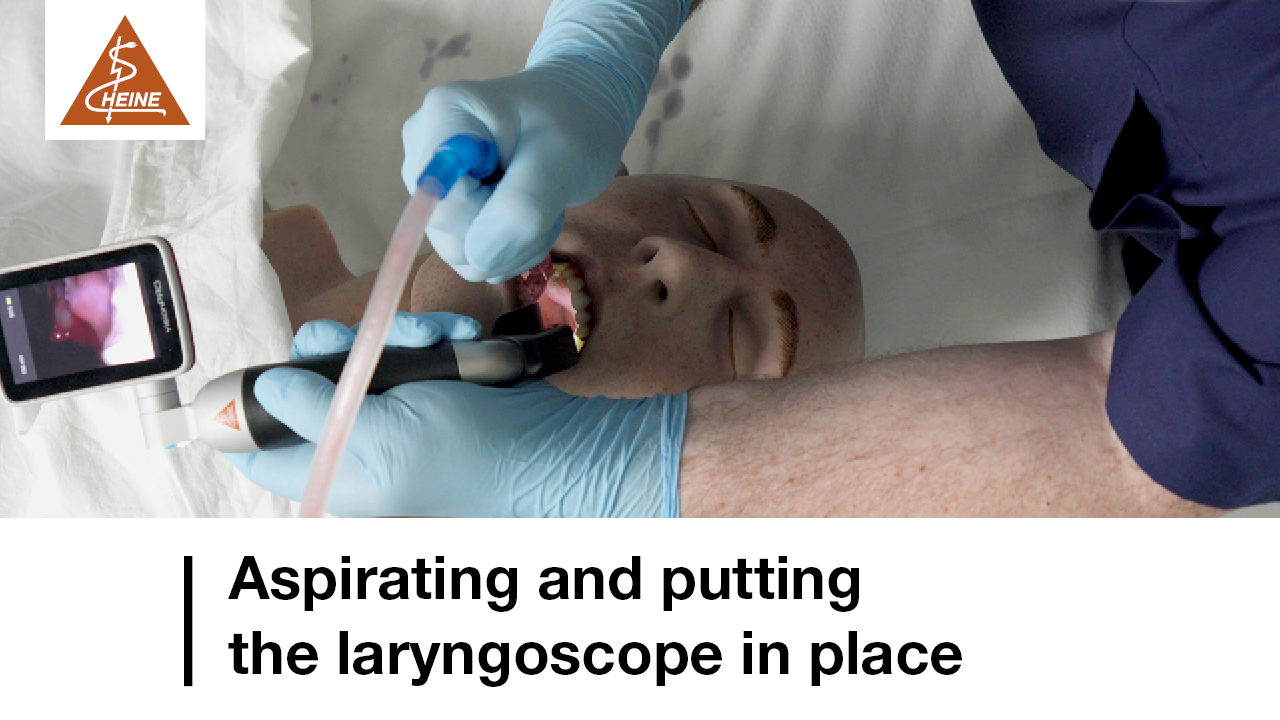
1. Suctioning and putting the laryngoscope in place
Start suction in the oral pharynx. Then press the tongue down into the floor of the mouth with the suction tube. This allows quicker and easier placement of the laryngoscope.
At the same time, the optics are kept as far away as possible from the posterior pharyngeal wall. This usually prevents the camera lens on the blade of the laryngoscope from being covered by fluid.
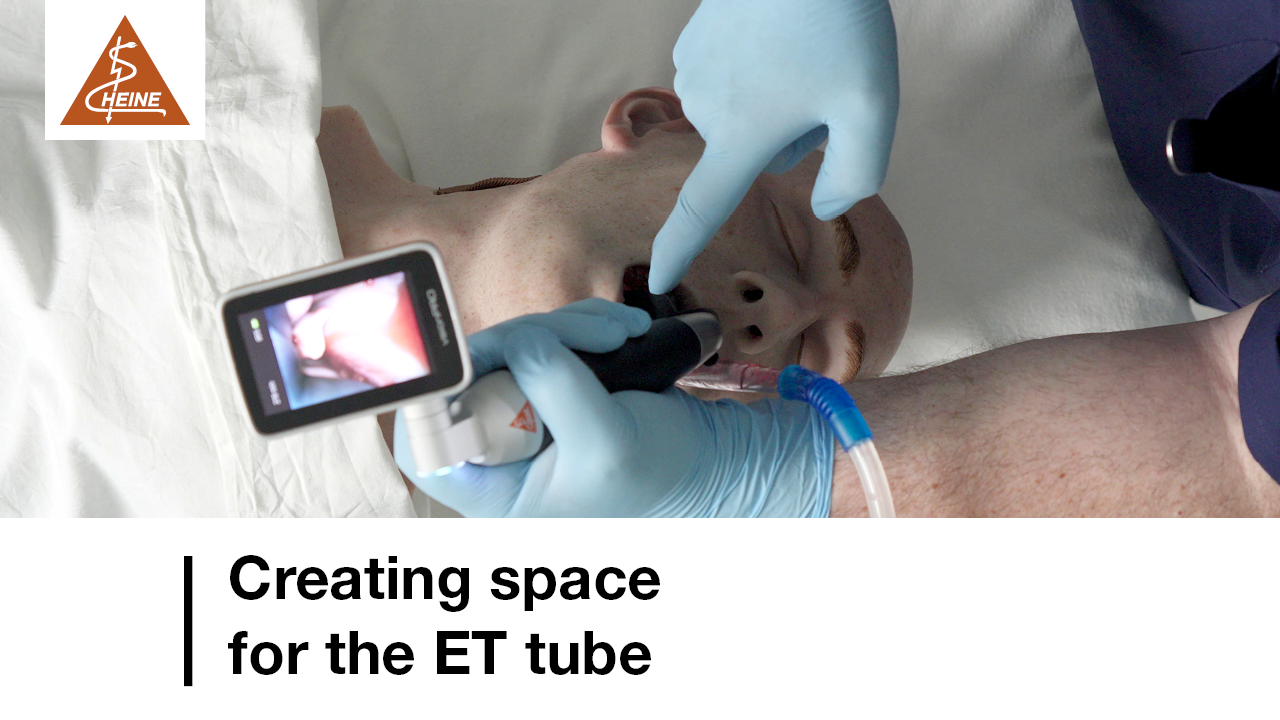
2. Creating space for the ET tube
Since it is safe to assume that the pharynx cavity will continuously refill with fluid, suction must be maintained continuously during intubation – but without obstructing the path of the tracheal tube. To this end, the suction tube is moved from the right to the left side of the laryngoscope. In this case, the tip of the suction catheter is in the upper oesophagus. The larynx can now be exposed and space created with the index finger to insert the tracheal tube.
3. Inserting the ET tube
To intubate, the tip of the bougie is inserted, rotated and positioned in the dummy’s simulated airways. The ET tube can now be attached with one hand and placed in the trachea. Sometimes, it might not be possible to push the ET tube any further in. To this end, simply turn the tracheal tube anti-clockwise when pushing it further in. Remove the bougie, block the cuff and ventilate the patient. The video laryngoscope’s display can be used to check that the tube is now inserted correctly.

Options when using the video laryngoscope with a Mac blade
1. If the camera is dirty, direct laryngoscopy can be used as an alternative without delay.
2. Alternatively (as another option), if the camera is dirty, replace the single-use blade with a new one immediately and in a matter of seconds.
More information
Disclaimer:
Intubation is a complex medical procedure that must be performed by trained medical professionals with the necessary expertise. The method and procedure shown may vary depending on the specific video laryngoscope and the individual needs of the patient. Always follow the relevant user manual and your establishment’s protocols and guidelines for intubation procedures.